Introduction
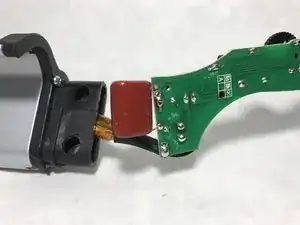
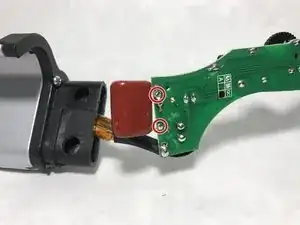
Use this guide to replace the main capacitor on the internal circuit board of the Deep Waver. It will show you how to split the lower handle housing to gain access to the main circuit board, as well as other internal components.
The main capacitor can become damaged if the Deep Waver overheats, and will need replaced, along with other electrical components, to continue using the device safely.
Tools
Parts
-
-
Unlock the handle of your Deep Waver to gain access to the screws you need to remove.
-
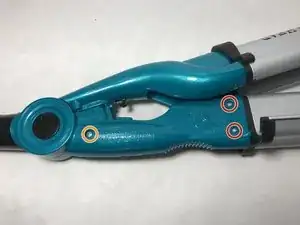
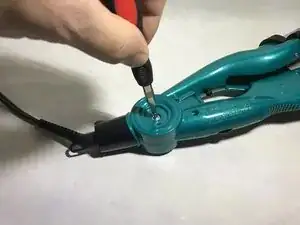
Remove two 10 mm Phillips #01 screws from the lower handle housing.
-
Remove one 10 mm Phillips #02 screw from the lower handle housing.
-
-
-
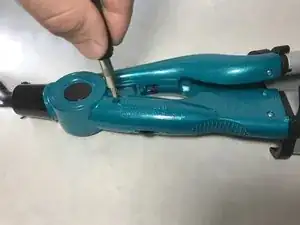
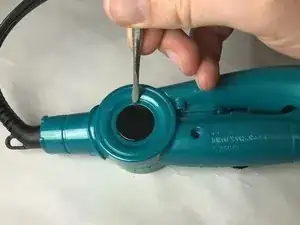
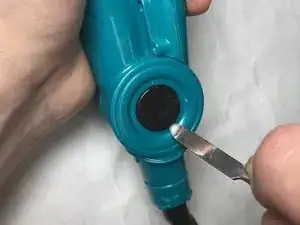
Pry the black screw cover off the side of the lower handle housing using a fine-point spudger or pick. This side will have the model number and other product information embossed on it.
-
-
-
Pry the black screw cover off the other side of the lower handle housing. This side will have the power switch located on it.
-
-
-
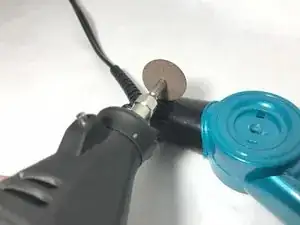
Cut along the length of the black housing retainer with a rotary tool to split and remove the retainer.
-
-
-
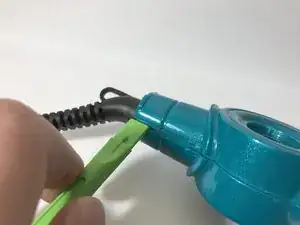
Split the lower handle housing apart using a plastic opening tool.
-
Begin splitting the housing at one end rather than the center to avoid cracking the casing.
-
-
-
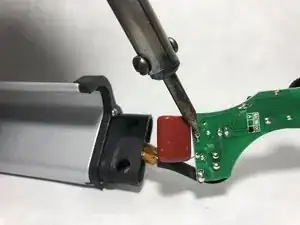
Apply heat to both terminals of the capacitor with a soldering iron until the solder begins to melt.
-
Gently pull on each leg of the capacitor once the solder has began to melt to remove the wire from the circuit board.
-
To reassemble your device, follow these instructions in reverse order. Once each half of the housing have been put back together, install a new Housing Retainer to replace the one you cut off.
