Introduction
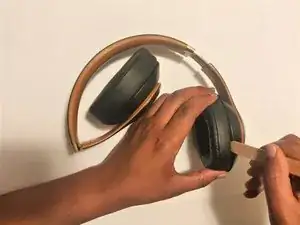
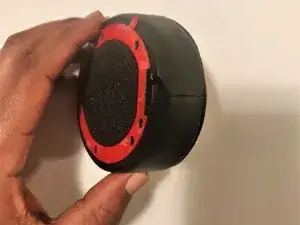
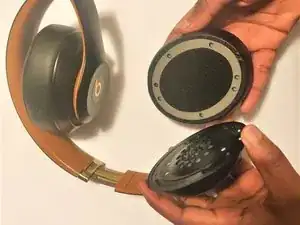
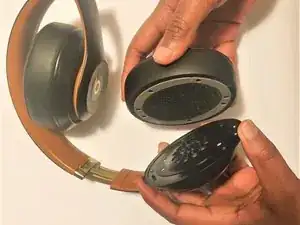
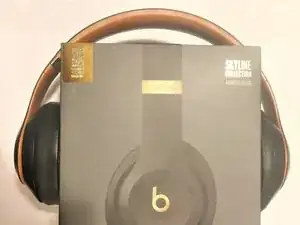
Through constant usage, the climate, or human bodily fluids, the ear cushions of headphones begin to wear out and get damaged. This guide will go through step-by-step instructions on how to replace your worn out ear pads with new sturdy ones on your Beats Studio 3. You will not need many tools, but you will need patience and understand that rushing this procedure will lead to undesirable results. Lastly, never use force! Although the piece we are replacing today is made up of cushion, it is attached to plastic, metal, and technology that gives you the brilliant sound you love. So be gentle!
Tools
Parts
-
-
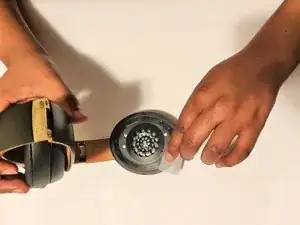
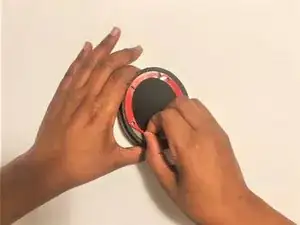
Remove the remaining adhesive by making circular movements around the rim of the headset with the provided Isopropyl Alcohol wipe.
-
-
-
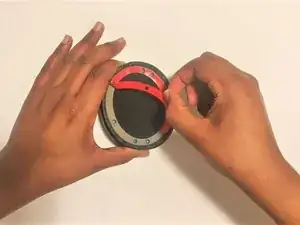
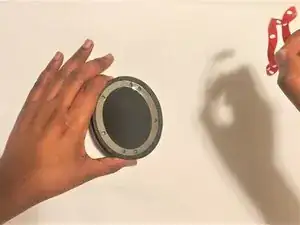
Remove the sticker on the new pair of cushions to reveal the adhesive by pulling on the red tab to the side.
-
-
-
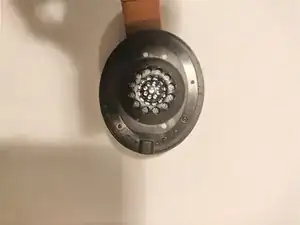
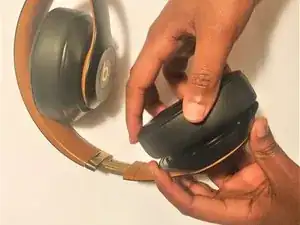
Realign and move as needed to match the circles on the adhesive on the earpad with the screws on your headphones.
-
-
-
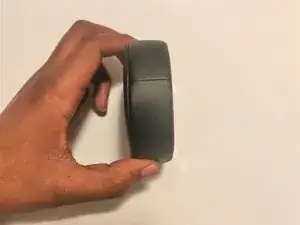
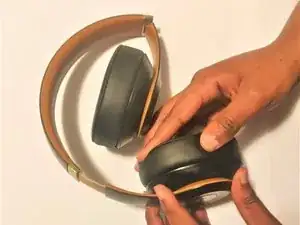
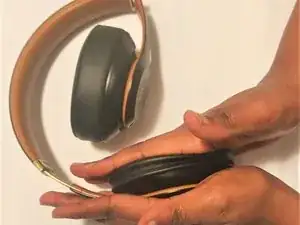
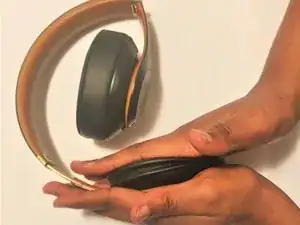
Once aligned and placed properly, push on your pad for 1 minute to activate the adhesive by clamping your hands together as tight as possible.
-
There you go! You have completed the guide. You are able to wear the headphones as usual after the 24 hour period. Please dispose of the old ear cushions and clean up your mess!
2 comments
Muchas gracias tanto al autor de la guía de reparación como al traductor de la misma.
Hola!! Donde puedo comprar el recambio de auriculares?? Gracias!!

