Introduction
-
-
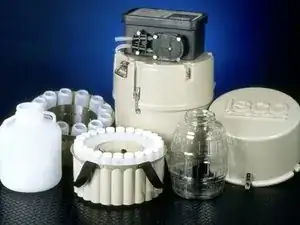
1. Ensure the autosampler wire and autosampler battery wire are threaded through the conduit before heading to the field.
-
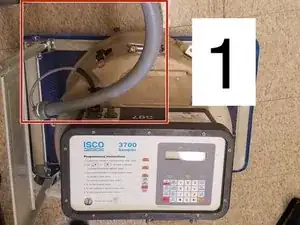
2. Clean and prepare bottles and tubing prior to heading to the field.
-
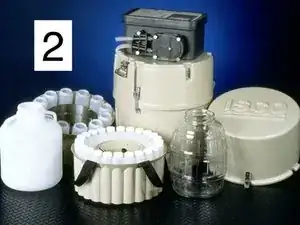
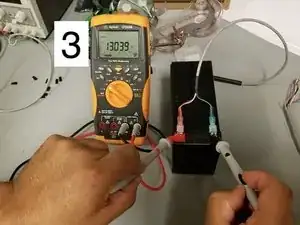
3. Charge and check battery levels of a node battery and an autosampler battery prior to heading to the field. See this tutorial for more details.
-
-
-
7. Reconnect the 2-pin autosampler battery to the autosampler.
-
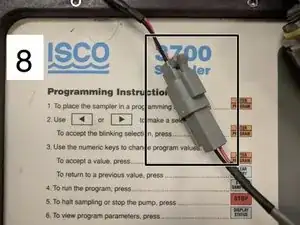
8. Reconnect the grey battery connector from the autosampler to the node.
-
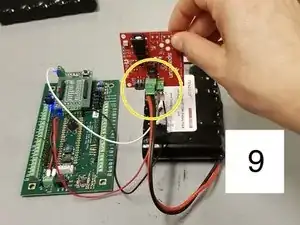
9. Reconnect the lithium ion battery in the node.
-
-
-
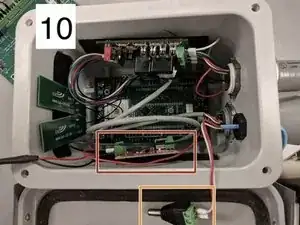
10. Secure solar charge controller to the side of the enclosure using velcro.
-
Then plug in the solar charger last.
-
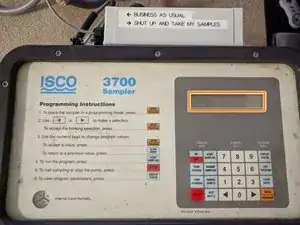
11. Flip the autosampler battery switch away from the enclosure edge to turn it on. Confirm the autosampler is correctly configured. See this tutorial for configuring. Confirm the autosampler is correctly programmed. See this tutorial for programming.
-
-
-
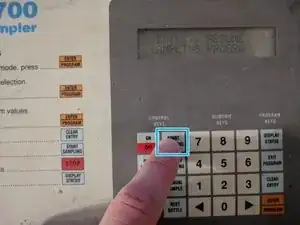
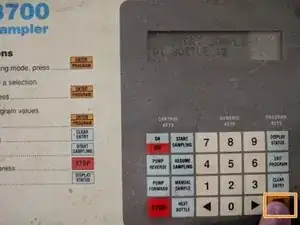
Press Start Sampling
-
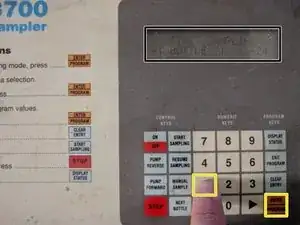
Press Enter
-
Press the number of the bottle you want to sample on and then Press Enter
-
-
-
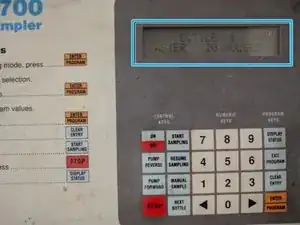
LCD should now show which bottle it will take a sample in
-
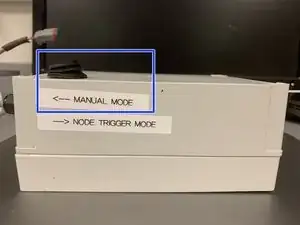
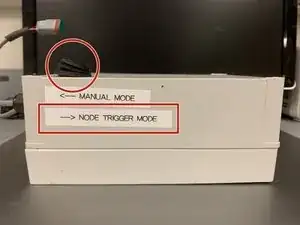
To enable autonomous mode, flip switch to "Node Trigger Mode"
-
LCD should turn off
-
-
-
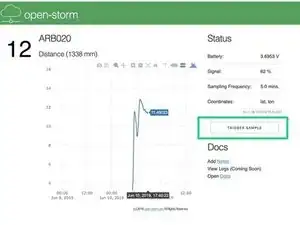
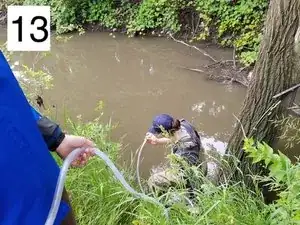
13. Once the autosampler triggers correctly, connect the autosampler tubing to the the autosampler with a barb connector. Place the autosampler tubing into the water.
-
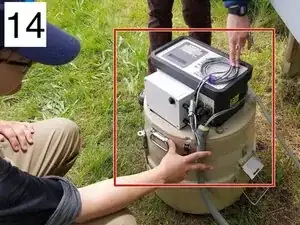
14. Secure the wiring on the autosampler.
-
-
-
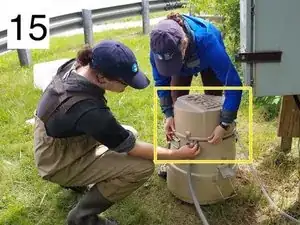
15. Place the autosampler lid back the autosampler.
-
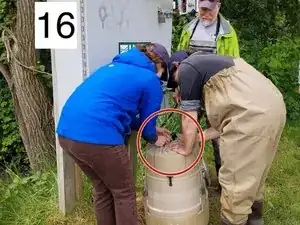
16. Secure the autosampler.
-
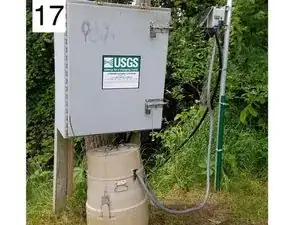
17. This is what a completed site looks like.
-
