Introduction
This guide provides step-by-step instructions on the replacement of the motherboard of ASUS X200MA. This guide can be used to upgrade or replace an obsolete, malfunctioning, or a damaged motherboard. Use caution when removing and installing the motherboard as it is connected to the hard drive.
Tools
-
-
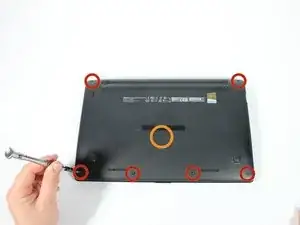
Remove the following six screws:
-
Six 4 mm screws using a Phillips #0 screwdriver.
-
Remove the following one screw:
-
One 14 mm screw using a Phillips #0 screwdriver.
-
-
-
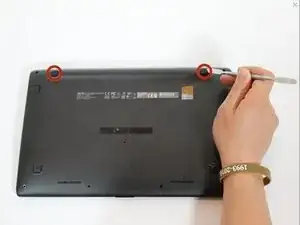
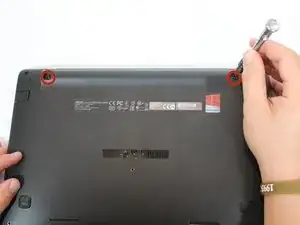
Take two rubber caps off the back side of the laptop.
-
Use a Phillips #0 screwdriver to remove the two 14 mm screws under the rubber caps.
-
-
-
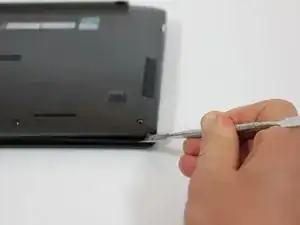
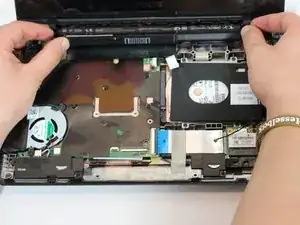
Use a plastic or metal spudger to separate the keyboard from the back panel and lift the keyboard out of place.
-
-
-
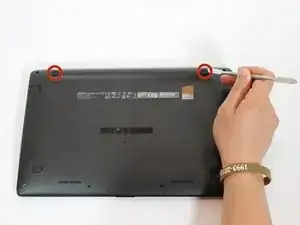
Remove the following two screws under the rubber caps.
-
Two 14 mm screws using the Phillips #0 screw driver.
-
-
-
Flip up the following:
-
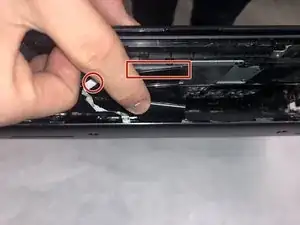
The two latches holding the two cables shown(white and black)
-
Pull the cables free from the latches
-
Lift the keyboard from the computer
-
-
-
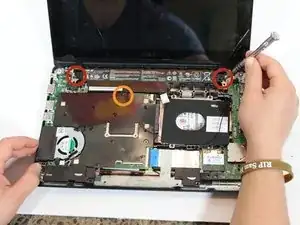
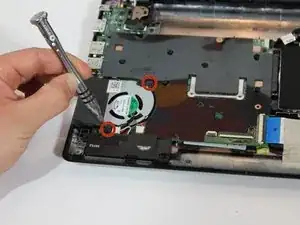
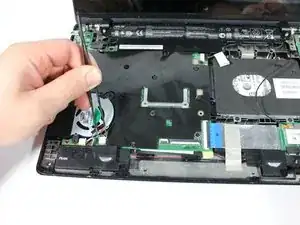
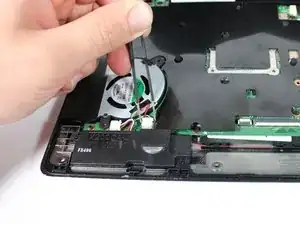
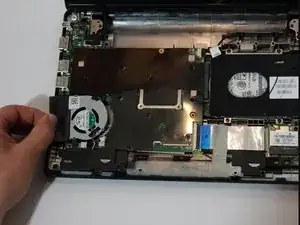
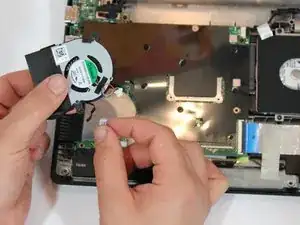
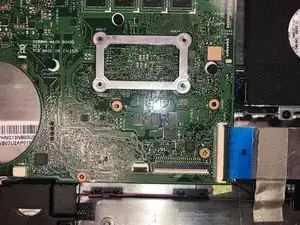
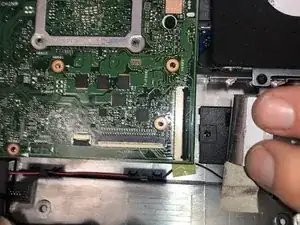
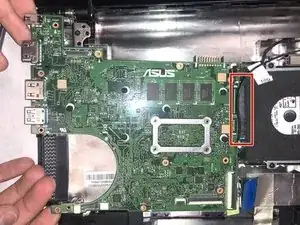
Remove the following screws from the inside of the laptop:
-
Two 4 mm screws using the Phillips #0 phillips screwdriver.
-
One 5 mm screw using the Phillips #0 Phillips screwdriver located in the center a little below the battery.
-
To reassemble your device, follow these instructions in reverse order.

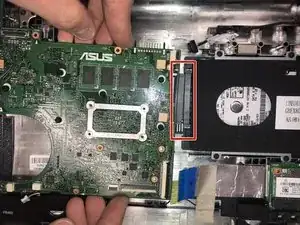
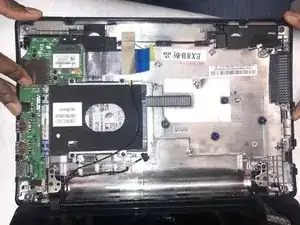
There are also two other screws under the rubber feet above the battery.
digg1024 -
I agree. Two another 14 mm screws under the rubber feet.
shao.onii -