Introduction

This guide will show you how to replace a faulty USB input by taking apart the keyboard.

  1. WJya3MGAkE63ongS
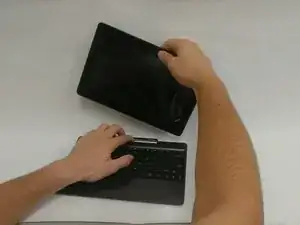
    • Remove the tablet portion of the device from the keyboard by pushing on the silver button located at the base of the tablet and lifting up on the tablet.

  2. pfYGL1XwJquhGQkm
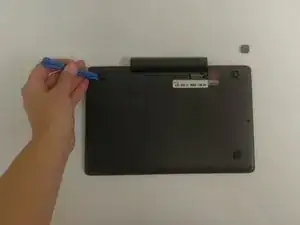
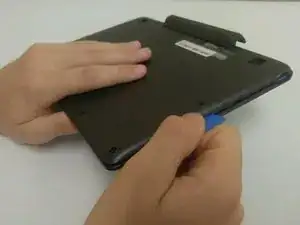
    • Use the plastic opening tool to remove both of the top corner pads.

    Possibly include the picture showing how you detach the screen from the keyboard at the beginning of the guide.

    Tayler McCleese -

  3. yYXFrHNHIjlnJgyr
    yYXFrHNHIjlnJgyr
    YjhYCSpJCKm2LV5i
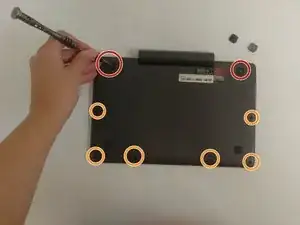
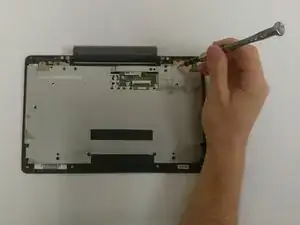
    • Remove two 5mm Phillips #0 screws on the top corners.

    • Remove four 2.5mm Phillips #0 screws on the top corners.

    Instructions mentioned using a Flathead screwdriver, but the screws are Phillips. A size 0 works for all the screws.

    Tayler McCleese -

  4. fvSYM2YWtib2eYQA
    • Use the pick and pry apart the keyboard.

    The pick tool needs to be listed in the guide tool list.

    Tayler McCleese -

  5. BTGJMpOLQl4Rv1mH
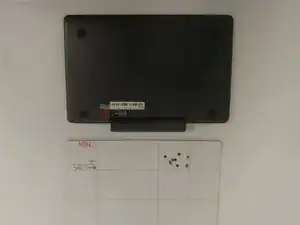
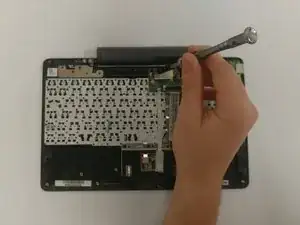
    • Use the size 0 Phillips screwdriver and remove the nine screws from the back panel. The four you need to remove across the top are 3mm and the four across the bottom are 2.5mm.

    • The screw in the top right, shown where the screwdriver is, is a 5mm screw.

    It is best to list the size of the screws as well as which screws, if all, need to be removed. Also, some screws are different sizes and that isn’t specified. The screwdriver is a Phillips, not a Flathead

    Tayler McCleese -

  6. QZW1AYDSN1CU4qpY
    QZW1AYDSN1CU4qpY
    RnBINBXDMejje12C
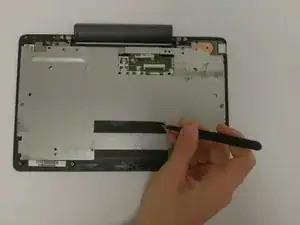
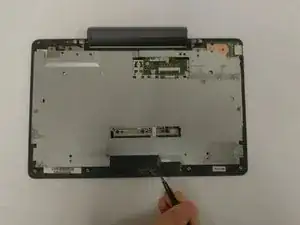
    • Use tweezers and remove the black tape from the back panel.

    It is easier if the pictures are in the same orientation.

    Tayler McCleese -

  7. 3ksqTURWbBVBVQo6
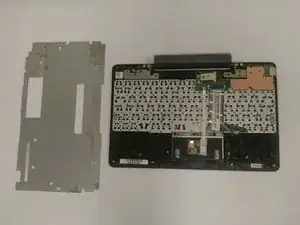
    • Remove the metal back panel from the keyboard.

  8. gqvQQnLaIuPurGxD
    gqvQQnLaIuPurGxD
    IqoRLarOgvkqxeRq
    LJ3CQ1YBvNEgACFS
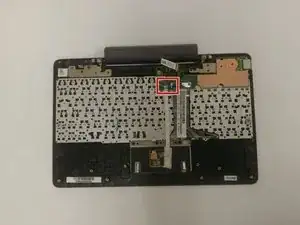
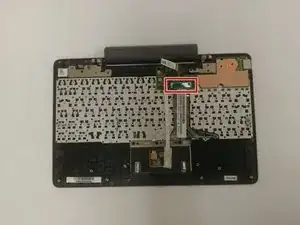
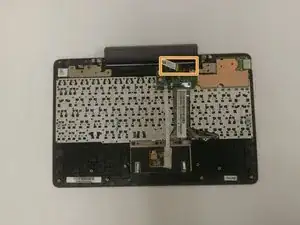
    • Flip the connectors back to release the wires

    • Take the white tab and gently pull it to the right in order to release the connecting piece.

    Possibly consider breaking this step down into three pictures with the actions specified for each connector as they each require a different way to un-clip (one might have tape while another doesn’t)

    Tayler McCleese -

  9. vDRkooPIEH5Gu6JS
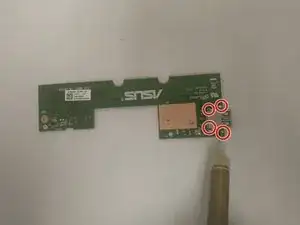
    • Remove the screw from the green plate.

    • Once all of the screws are out, remove the plate.

    The number of screws there are isn’t depicted.

    Tayler McCleese -

  10. yHQLEHGueUjYTUIP
    • Place soldering tool on each of the four connecting pieces in the corner until each becomes unattached.

    • Remove old USB input and replace with the new one.

Conclusion

To reassemble your device, follow these instructions in reverse order.
Brody Moore

Member since: 06/09/18

807 Reputation

0 comments