Introduction
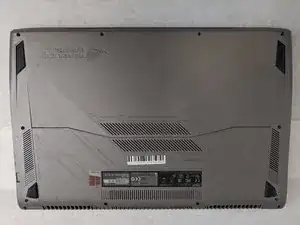
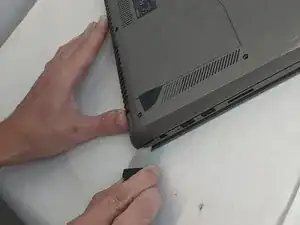
This simple guide will be used in almost every step involved in repairing the computer. You will need to remove the bottom cover to access all of the components of the computer. This should be done in a contained well-lit setting since the small screws may be easy to lose in low light settings.
Tools
-
-
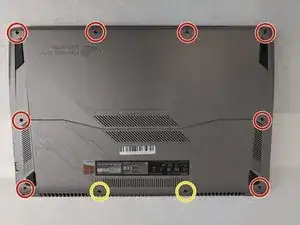
Remove the ten JIS #0 screws around the edge of the laptop.
-
The two bottom screws are slightly shorter
-
Conclusion
To reassemble your device, follow these instructions in reverse order.


