Introduction
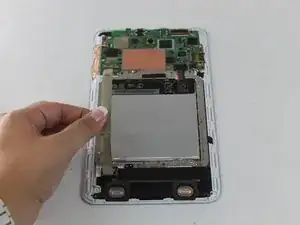
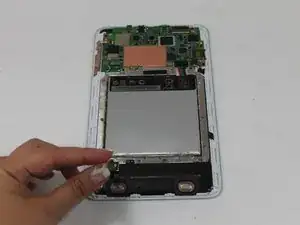
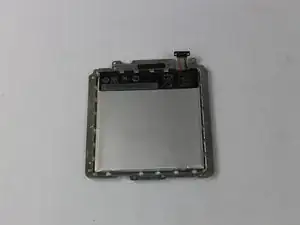
You will learn how to replace the camera. Review this guide if you are having difficulties with the camera. In order to replace the camera, you have to remove the battery and motherboard. Please use our Asus MeMO Pad HD 8 ME180A Battery Replacement Guide and Asus MeMO Pad HD 8 ME180A Motherboard Replacement Guide to do so prior to starting.
Tools
-
-
Use a plastic opening tool to separate the back half from the front half.
-
Pull the back panel away from the device.
-
-
-
Using your spudger, press down on the two spots shown in order to release the cables.
-
Ensure that the touchscreen cables are fully disconnected.
-
-
-
Use a PH#0 screwdriver to unscrew the six 3.0 mm black screws.
-
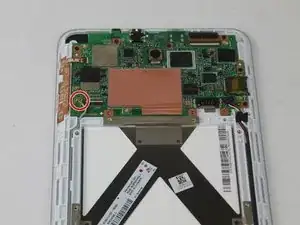
Lift the motherboard straight up to remove.
-
-
-
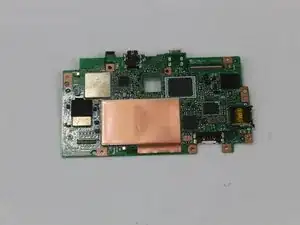
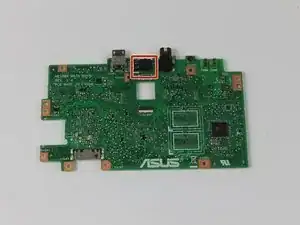
Upon removal of the motherboard, flip the motherboard to the side so the front-face camera faces you.
-
Remove the front facing camera.
-
To reassemble your device, follow these instructions in reverse order.







I would not suggest this to a beginner, quite thankfully I have been just practising my fixing skills, yet I managed to break the lid of the display of the tablet and the tool even with the triangle plastics that hold it opened, it broke and shattered
Lukáš Otáhal -