Introduction
Are your keys not clicking? Did you spill any liquids on your keyboard recently? This guide will help you resolve these situations.
Tools
-
-
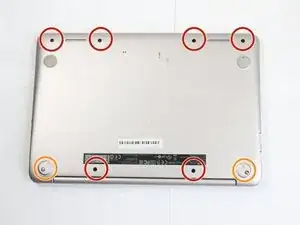
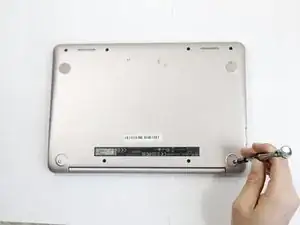
Use a Phillips #0 screwdriver to unscrew the six 5mm screws.
-
Use a Phillips #0 screwdriver to unscrew the two 6mm screws.
-
-
-
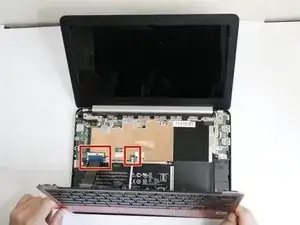
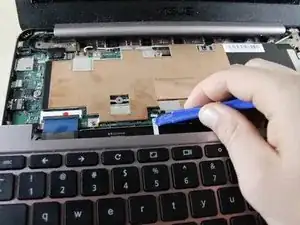
Flip up the white bar that connects the thin white strip using a plastic opening tool.
-
Grab the thin white strip and pull straight back to remove the strip from the connector.
-
-
-
Use a plastic opening tool to lift the black bar above the wide black strip in the connector.
-
Grab the wide black strip and pull straight back to remove the strip from the connector.
-
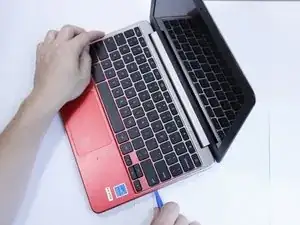
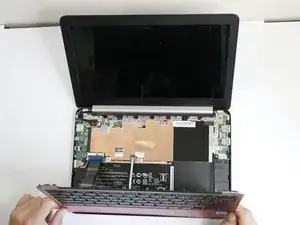
Remove the keyboard by lifting it straight up.
-
Conclusion
To reassemble your device, follow these instructions in reverse order.
