Introduction
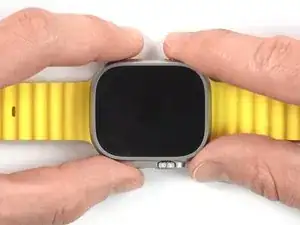
Follow this guide to replace a cracked or broken sensor assembly in your Apple Watch Ultra 2. The sensor assembly includes the skin-facing sensors along with the back panel that houses the sensors.
Since the sensor assembly uses screws to compress against the perimeter gasket, you can normally reuse the gasket during reassembly. However, you may still lose some water resistance once you open up the watch.
Tools
-
-
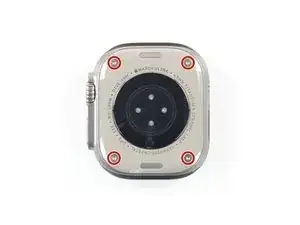
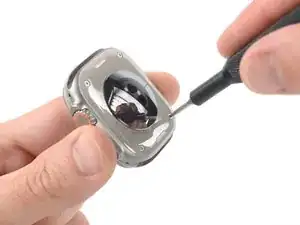
Use a P5 Pentalobe driver to remove the four 2.2 mm‑long screws securing the sensor assembly.
-
-
-
Heat an iOpener and apply it to the sensor assembly for at least two minutes to loosen the adhesive underneath.
-
-
-
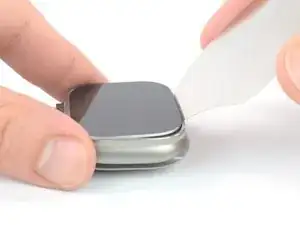
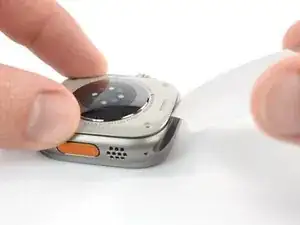
Insert an iFlex in the seam between the watch frame and the top edge of the sensor assembly to create a gap.
-
Carefully twist the iFlex to widen the gap.
-
-
-
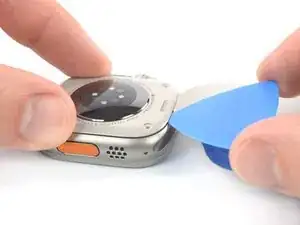
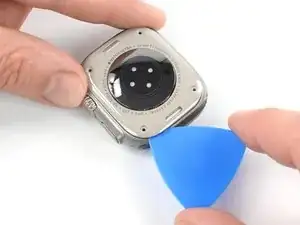
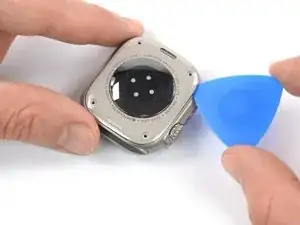
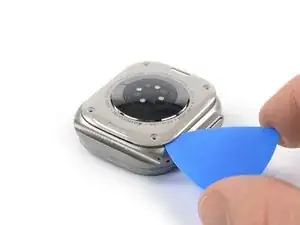
Slide the opening pick around the top right corner of the sensor assembly and along the right edge to slice its adhesive.
-
-
-
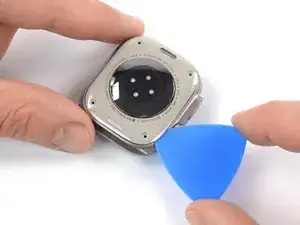
Slide the opening pick around the bottom right corner and along the bottom edge to slice the rear assembly adhesive.
-
-
-
Slide the opening around the bottom left corner and along the left edge to slice the remaining adhesive.
-
-
-
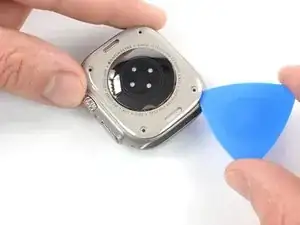
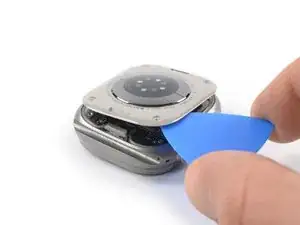
Carefully lift the top edge of the sensor assembly with your opening pick until you can get a good grip with your fingers.
-
-
-
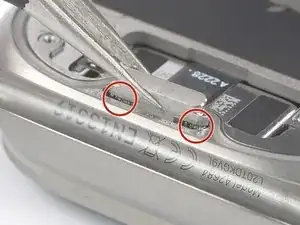
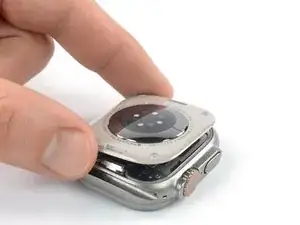
Lift the sensor assembly and carefully pull it towards the bottom edge of the watch.
-
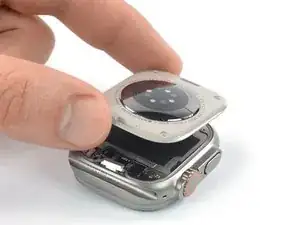
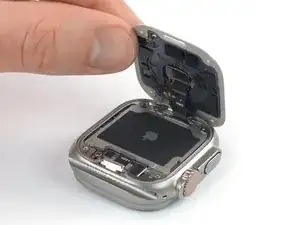
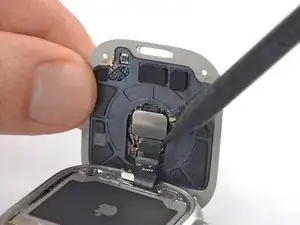
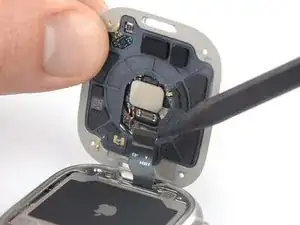
Swing the sensor assembly open to an upward position.
-
To reassemble your device, follow these instructions in reverse order.
Take your e-waste to an R2 or e-Stewards certified recycler.
Repair didn’t go as planned? Try some basic troubleshooting, or ask our Answers community for help.
One comment
Nice job!
But where can I get a spare sensor assembly for the Ultra 2.
On iFixit it doesn't seem to be available
Would a rear side sensor assembly from an iCloud locked Ultra 2 watch, sometimes offered on eBay, work?
jojo -


