Introduction

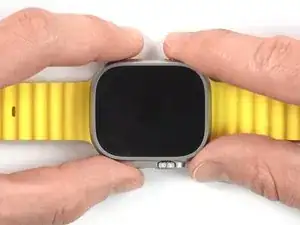
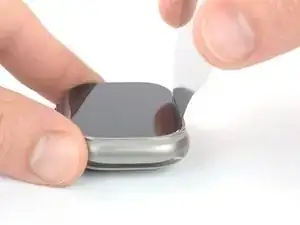
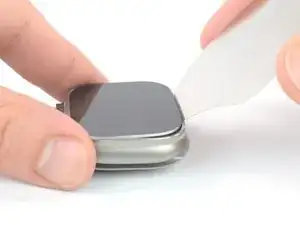
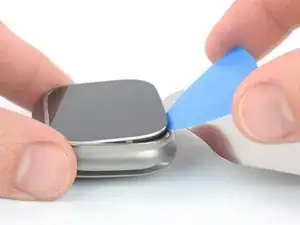
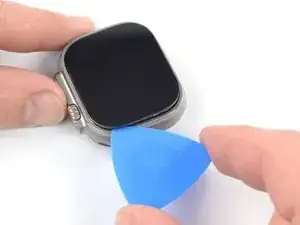
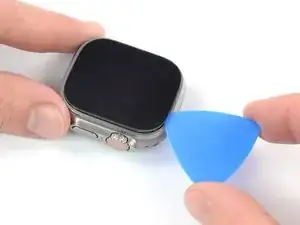
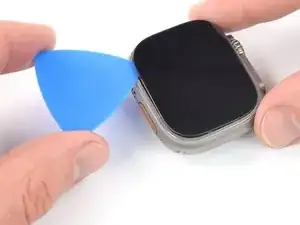
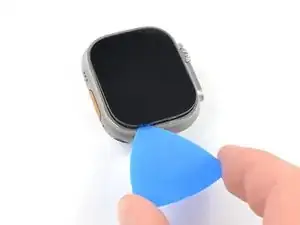
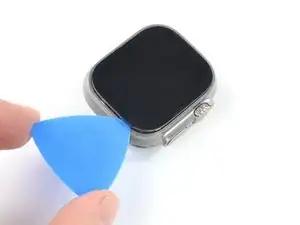
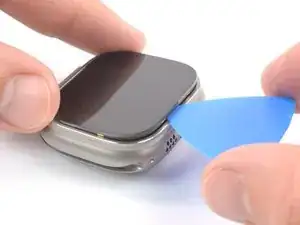
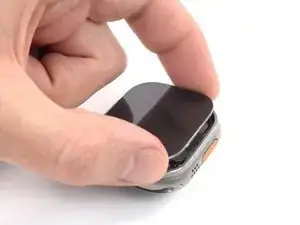
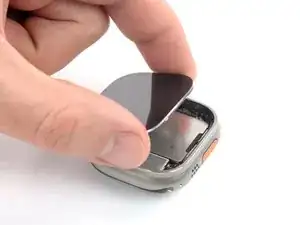
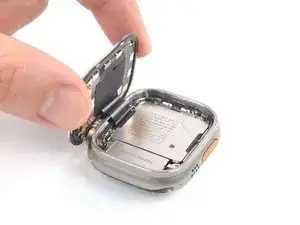
Follow this guide to replace a worn-out or dead battery in your Apple Watch Ultra 2.

While the sapphire watch face is very sturdy, there is a chance that you may break the OLED display panel underneath it during this procedure. Be sure to apply plenty of heat and be extremely careful during the prying stage.

You’ll need replacement adhesive to reattach the screen when reassembling the watch. Once you've opened the watch, it will most likely lose its water resistance rating.

  1. jxBUQDFMrNkBthCs
    jxBUQDFMrNkBthCs
    uWZL3uBiX3DTBCJo
    • Drain your watch battery below 25% before starting this repair. A charged battery may catch fire if damaged.

    • Take your watch off the charger and power it down.

    • If your touchscreen is broken and you can't power off the watch, use this alternate method to power it down.

  2. iXrSKkJaHPZGnTHX
    iXrSKkJaHPZGnTHX
    LxwRPd4PAQmrGMZa
    lPWpmdYBMSSdSi3B
    • Because the gap between the screen assembly and frame is so small, a thin metal tool is needed to pry the screen up. Read the following warnings before you start disassembly:

    • Protect your fingers by keeping them completely clear of the front end of your tool. You can protect your free hand with a heavy glove, such as a leather shop glove or gardening glove.

    • Be careful not to apply too much pressure, as this might cause the iFlex to slip and cut you, or damage the watch.

    • Wear eye protection. The glass may break, sending pieces flying.

    • Attach or remove the watch bands as needed to provide more control as you make repairs.

  3. FdME2RXvQYNTfkgN
    • Heat an iOpener and apply it to the screen for two minutes to loosen the adhesive underneath.

    • You can also use a hair dryer, heat gun, or hot plate, but be careful not to overheat the watch—the screen and internal battery are both susceptible to heat damage.

  4. rOnYlPbK31DSEJEa
    rOnYlPbK31DSEJEa
    l63AvdOXAhmaqDHG
    p1Dd1w1o2RZLaQkS
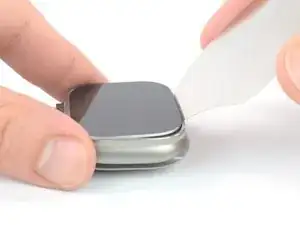
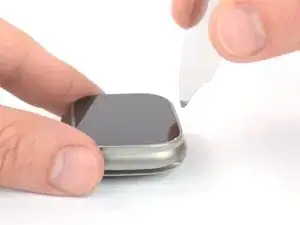
    • Place the tip of an iFlex along the edge opposite the Digital Crown and position it in the seam between the screen and the frame.

    • Press the iFlex firmly straight down into the gap.

    • The gap between the screen and the frame is very small, and it makes inserting the iFlex difficult. Don't force the iFlex in, or you risk damaging the screen. If you're having trouble, apply more heat and try again.

    Took around 6-7 reapplications of heat to pry the screen up. I used a razor blade to cut the adhesive on the three sides of the screen first, then used the iFlex to pry.

    Dylan Brogan -

  5. 1xS3yrsvxgjiUt1y
    1xS3yrsvxgjiUt1y
    gZZifSrXtunHgcj6
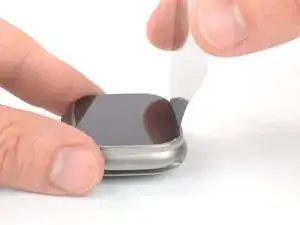
    • Use the iFlex to pry up the screen.

    • The adhesive requires time and constant force to loosen—it probably won't loosen from the initial pry. Reheat the screen and keep applying constant force until the adhesive loosens.

  6. ktSaglDMdGcdOwjZ
    ktSaglDMdGcdOwjZ
    clofWZlKwyesTPS1
    M1VI6jJNflfRSN4X
    • Insert an opening pick in the gap you created between the screen and the frame.

    • Remove the iFlex.

  7. 5MtDCBLCWNC2QWbD
    5MtDCBLCWNC2QWbD
    ZqDJIewTPcdHvd6k
    Jd3yITpGwUYM4N1M
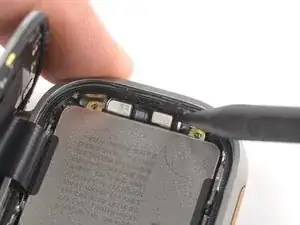
    • Insert the tip of the opening pick less than 2 mm to prevent damaging the antenna pin.

    • Slide the opening pick around the top left corner and along the top edge of the watch to slice the screen adhesive.

  8. 32Owt6YYQVJG1C3V
    32Owt6YYQVJG1C3V
    bhOA2MDYVoHwBbn2
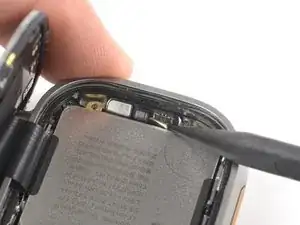
    • Insert the tip of the opening pick less than 2 mm to prevent damaging the antenna pin.

    • Slide the opening pick around the top right corner and stop just before the Digital Crown.

  9. waMTjERLuupj2RGq
    waMTjERLuupj2RGq
    2a6xhjJkpclohN2A
    • Insert an opening pick into the seam at the top left corner of the watch.

    • Slide the pick along the Action button edge to slice the adhesive.

  10. jsCJpdmAamkOlVym
    jsCJpdmAamkOlVym
    m5kLQF4UtEZGRyBu
    • Slide the opening pick around the bottom left corner and along the bottom edge of the watch to slice the screen adhesive.

  11. BJdERKVJObXMoVZb
    BJdERKVJObXMoVZb
    TjJKhOUcwvTfGLSA
    • Slide the opening pick around the bottom right corner and stop before you reach the side button.

  12. MMeH5qVFvWonCTcn
    MMeH5qVFvWonCTcn
    rOEXB4a2EbYQWZaT
    • Insert the opening pick between the screen and frame at the opposite edge of the Digital Crown.

    • Pry up the screen until you can get a good grip with your fingers.

    • Don't try to remove the screen all the way yet. It's still connected to the watch body.

  13. axQNAc5eTRFbbnkA
    axQNAc5eTRFbbnkA
    nrLWbcrRVcTSbruJ
    xqu1vMFTtoGyaCth
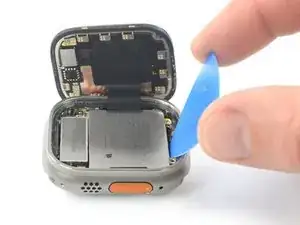
    • Be careful not to strain the screen cable when you swing open the screen.

    • Lift the screen up and carefully pull it towards the Digital Crown.

    • Swing the screen open to an upward position.

    Opening the watch like this is just bad and ridiculous advice!

    Would not recommend to open it with a steel wedge in a 90 degrees angle.

    Or are you guys going to sell screens hoping on some broken screens?

    Only way, at home, is with a small enough suction cup. This is just stupidity.

    If you manage not breaking the screen you are going to damage the watch anyway with this method.

    Hire some engineers iFixit!

    Ferdi Mendes -

    Hi Ferdi,

    On the guide team, we've completed two successful screen separations (out of two) with this procedure with the screen intact and watch undamaged, so we can confirm that this is a valid method. Is it the most foolproof method? Probably not! We'll revise this guide when we find better tools and procedures. I'll also add a precautionary warning in the introduction for all of these guides.

    The process is actually not as difficult as some of the other smartwatches. Patience is key. You must allow the adhesive to thoroughly heat up and apply constant pressure in order to loosen the adhesive.

    The screen assembly is actually very strong! The sapphire glass is very durable. In the teardown video, we damaged the screen's OLED panel because we didn't give the adhesive enough time to loosen (the top glass was undamaged!) The rigid adhesive likely pulled against the OLED panel underneath the top glass and cracked it. This would happen whether you used a blade or a suction cup.

    Arthur Shi -

  14. M3Q3bKwjwrOqLqNx
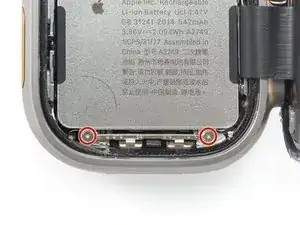
    • Use a Y000 driver to remove the two 2.3 mm‑long screws securing the metal connector bracket at the bottom edge of the watch.

    The Y000 screws were difficult. I bought a cheap screwdriver set first, ended up having to get the ifixit set to get the screws out. Key was pressing straight down to initially break the screw, more force than I expected to need.

    Dylan Brogan -

  15. asO2WpRoVNGoTvj2
    asO2WpRoVNGoTvj2
    WBoynZMxLurT42Dy
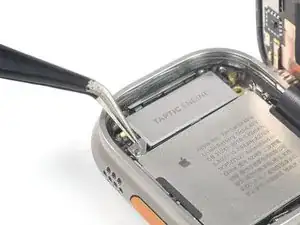
    • Use a pair of tweezers to remove the bottom connector bracket.

    This was taped on my watch, and the replacement bracket came with a bracket as well.

    Dylan Brogan -

  16. EtfUneRXNhGvP6Qf
    EtfUneRXNhGvP6Qf
    tbAODM5VctEPVQkI
    • Use the point of a spudger to pry up the battery connector towards the battery.

    • During reassembly, this is a good point to power on your device and test all functions before sealing it up. Be sure to power your watch back down completely before you continue working.

  17. Y6id2LG2QKM3WuAZ
    Y6id2LG2QKM3WuAZ
    1OpQU1leUPLISc5u
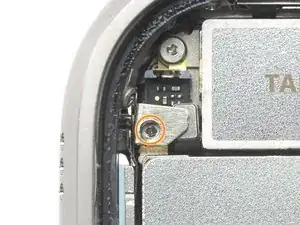
    • Use a Y000 driver to remove the 2.9 mm‑long screw securing the battery.

    • Use a Y000 driver to unscrew the 2.1 mm‑long screw that's sandwiched between the metal bracket.

    I ended up having to bend the top side of the bracket up to get at the screw, both Y000 bits I bought were to large to fit through the hole.

    Dylan Brogan -

  18. RThBkWfsGfDEN2Px
    RThBkWfsGfDEN2Px
    VYNCNuuwKRRVZ4SA
    • Use a pair of tweezers to remove the bracket with the screw sandwiched between it.

    • Although the screw sits nicely in the bracket, it’s not captive and can fall out.

  19. nZOsNrrEe51xa1cO
    nZOsNrrEe51xa1cO
    mDWq6LAJeDBQtRgj
    VBVmhYbeCRugKdyV
    • Use an opening pick to lift up the battery.

    • Remove the battery from the case.

    • Don't reinstall a damaged or deformed battery, as doing so is a potential safety hazard.

Conclusion

To reassemble your device, follow these instructions in reverse order.

For optimal performance, after completing this guide, calibrate your newly installed battery.

Take your e-waste to an R2 or e-Stewards certified recycler.

Repair didn’t go as planned? Try some basic troubleshooting, or ask our Answers community for help.

Arthur Shi

Member since: 03/01/18

263408 Reputation

0 comments