Introduction
In this repair guide, we will be replacing the LCD screen. This will need to be replaced if the screen is cracked or unresponsive when the device is powered on. For this fix you will need a Philips #1 screwdriver and a small plastic tool to remove the ribbon cable and pry the plastic covering open. It is imperative to carefully remove the ribbon cable because it is connected to the circuit board that powers the system. This guide is fairly simple and requires a minimal amount of time.
Good Luck!
Tools
-
-
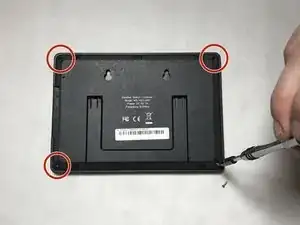
First, you will need to remove all four M2x1-7 screws (7mm length) located on the back of the device. This should be done using a Phillips #1 screw driver.
-
-
-
From the side of the device use the plastic opening tool to pry the gray front casing from the rear black casing.
-
-
-
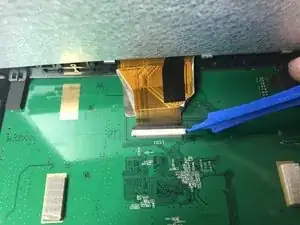
Using a plastic opening tool, carefully press the black bar towards the ribbon and away from the white bar in order to release it.
-
The ribbon cable should come out and be attached to the back of the LCD screen resulting in two separate pieces.
-
-
-
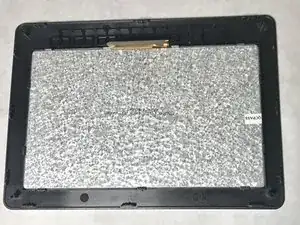
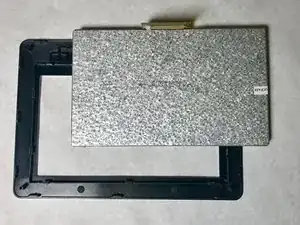
Next, you need to remove the LCD screen from the front casing.
-
Push on the front of the LCD screen to pop it out as seen in picture 2.
-
To reassemble your device, follow these instructions in reverse order.
2 comments
Pretty useless guide since this is all pretty self explanatory with no reference on where to get a replacement or even a part number
Exactly right.
j drag -


