Introduction

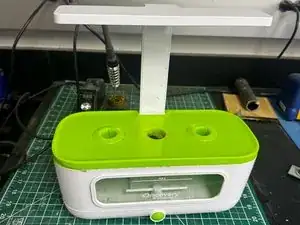
Want to replace a Aerogarden Air Pump?

  1. lIpfNi3gHUVgRLOh
    lIpfNi3gHUVgRLOh
    6KjhkdXtgxoN1EVf
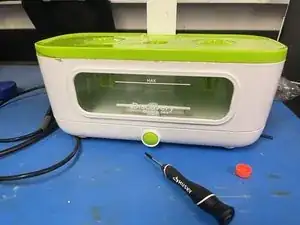
    • Remove the water and seed pod container and set it aside.

  2. WWva4kxHIohmgU14
    WWva4kxHIohmgU14
    LDYWpM3gL2xBpPcU
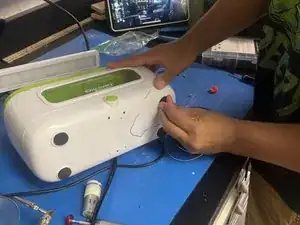
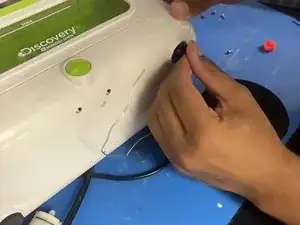
    • Peel back the footpads at the bottom.

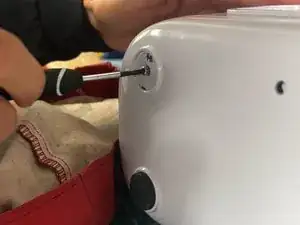
    • Unscrew the eight screws on the bottom to remove the base

  3. EZRCO6CuSKgoeJOy
    EZRCO6CuSKgoeJOy
    QtUH1PXyY6f1NQBy
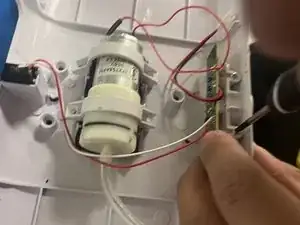
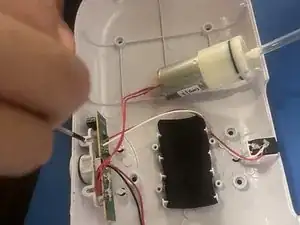
    • Disconnect the wires for the lights so the base can be fully opened.

  4. ipmVCTfcqYZInHPX
    ipmVCTfcqYZInHPX
    1aQcaNyy1NRX5ejA
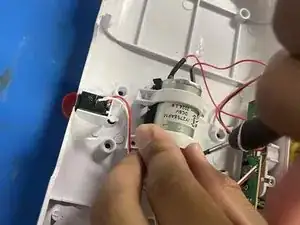
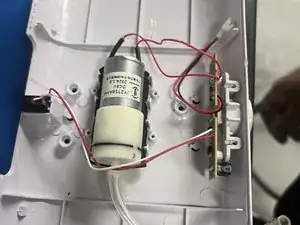
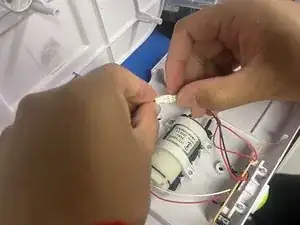
    • Remove the four screws holding the pump down

  5. kYqUOcGn32xhwJHt
    kYqUOcGn32xhwJHt
    qFxRZXRwdCMDBBdx
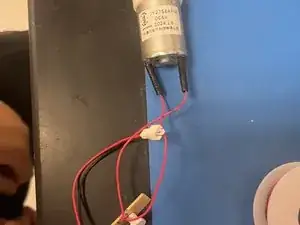
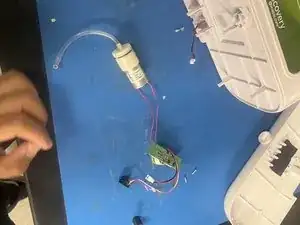
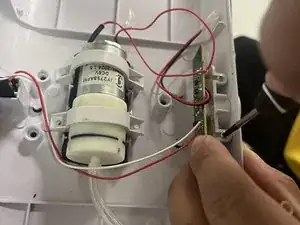
    • Cut the wires as close to the pump as possible, to preserve their length. The wire connections are covered with glue

    • Strip the plastic from about 1/8 inch of the wire ends.

    • On the circuit board, note which wire is positive, and which wire is negative.

  6. XhgoaFKHV3gVOILB
    XhgoaFKHV3gVOILB
    NA3EDJgyoo3cMt2N
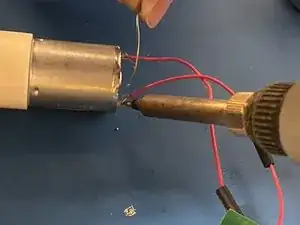
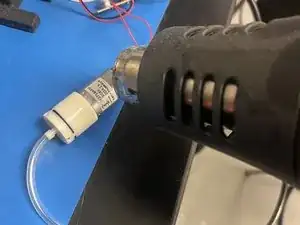
    • Connect the wires to the new pump and solder them in or affix them with heat shrink tubing for wires. Well, the solder should be covered with the heat shrink tubing, as well, since it is a potentially wet environment.

  7. xHkxbfWVSLPmE1ar
    xHkxbfWVSLPmE1ar
    wZ3bnWhmSIjNFJYd
    V5SpKR2gSRNhBBen
    • Assemble in reverse order.

Conclusion

To reassemble your device, follow these instructions in reverse order.
Jameslimon

Member since: 20/03/24

145 Reputation

0 comments