Introduction

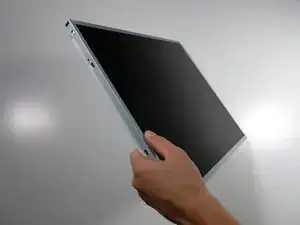
Replacing your display will give you a fresh new screen when your old one is not functioning properly.

  1. HRgsb1weOtgNOubO
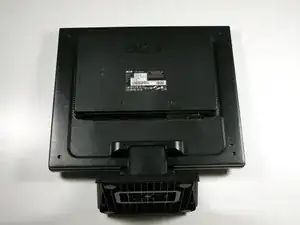
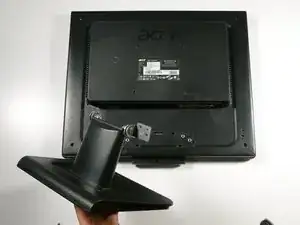
    • Lay the monitor on a flat surface so that the back is facing up.

  2. yLALqinZuXqIFRiO
    yLALqinZuXqIFRiO
    CWRFoOvhtCDghDAE
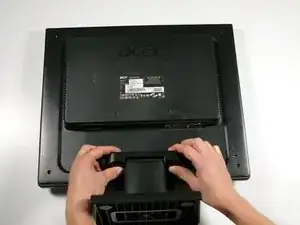
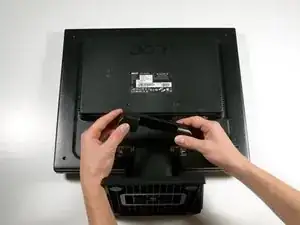
    • Grab the hinge cover with both hands on either side of the stand.

    • Squeeze inwards with your thumbs and fingers and lift up to remove the hinge cover.

  3. O6MxEGAXNko6ChSK
    O6MxEGAXNko6ChSK
    eab1c2ZIFMTUZLYB
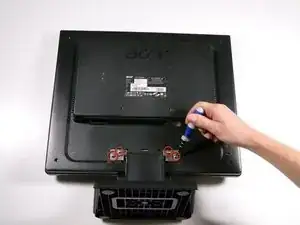
    • Remove the four 12.1 mm Phillips #2 screws that hold the stand to the monitor.

    • Support the monitor while removing the screws to prevent the monitor from falling.

    • Lift up to detach the stand.

    I can't get a grip to squeeze and lift the hinge cover. My fingers just slide right off.

    az_irocdriver -

  4. uOSWFXcNLQZsMIQA
    uOSWFXcNLQZsMIQA
    KBUEUrPVHVsaGqJl
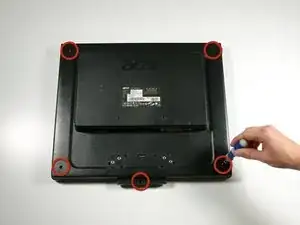
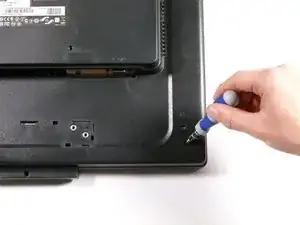
    • Remove the five 9.5 mm Phillips #2 screws located around the perimeter of the monitor.

  5. BjcmcegYghgMqJv2
    BjcmcegYghgMqJv2
    pfSnUCBQqEcWhfJi
    OWxBN5G4IlAoEKkr
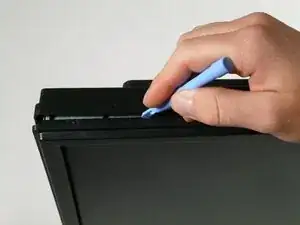
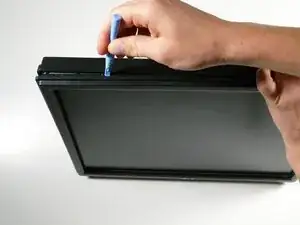
    • Starting at the corner of the monitor, wedge the small plastic opening tool between the back cover and the display bezel.

    • Tilt the plastic opening tool up to separate the back cover from the display bezel.

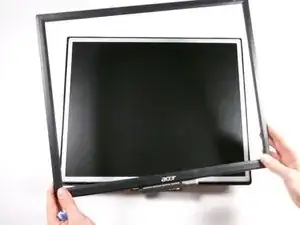
    • Continue around the perimeter of the monitor until the display bezel comes off.

    • A reasonable amount of force is necessary to detach the back cover from the display bezel.

  6. QOwLqUg15wbSjKlH
    QOwLqUg15wbSjKlH
    4BSMwGQtRfKDx5Q2
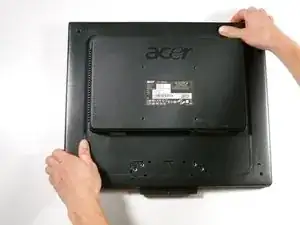
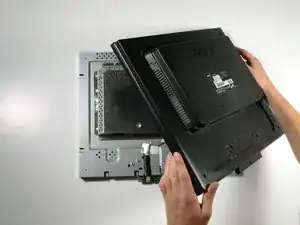
    • Reposition the monitor so that the back is facing up.

    • Grab the corners of the monitor and jiggle them upwards to detach the back cover from the inside of the monitor.

    • Lift the back cover up.

  7. ktigIxK1tj4tBwcA
    ktigIxK1tj4tBwcA
    wxMt3antMANIGVEA
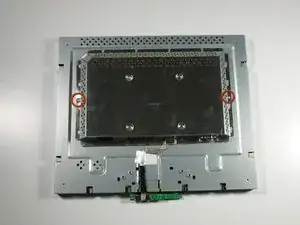
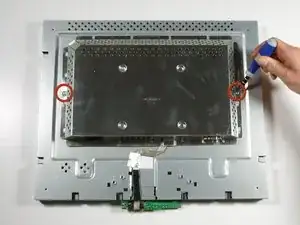
    • Remove the two 5.7 mm Phillips #2 screws located on either side of the EMI shield.

  8. 1G4QRwRZJUIFpxY5
    1G4QRwRZJUIFpxY5
    AbiZAgqSELHsaLXe
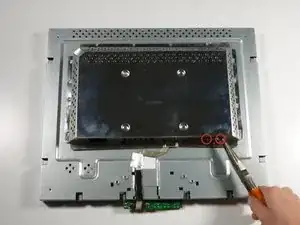
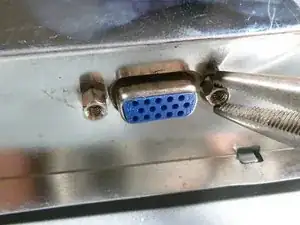
    • Using a nut driver (or if necessary, needle-nose pliers), remove the two nuts on either side of the VGA input.

  9. TAk3GfEJK6JYyprY
    TAk3GfEJK6JYyprY
    HPUZixgK2UJMjMWp
    Zqja3AEVgeRSHMtC
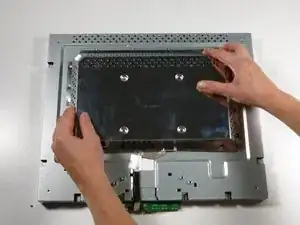
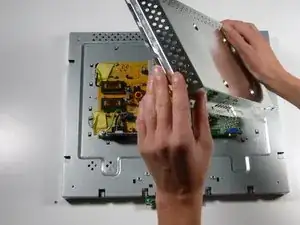
    • Grab the metal casing by the sides and slide it down towards the bottom of the monitor.

    • Lift up to remove the metal casing.

    • Beware, metal casing is sharp!

  10. xM5tUcjn2ukJGDBs
    xM5tUcjn2ukJGDBs
    GTXhXINUGCRRkDf2
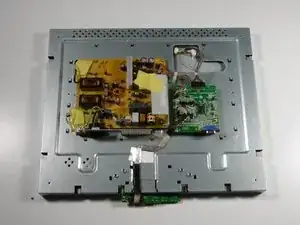
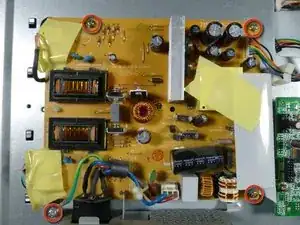
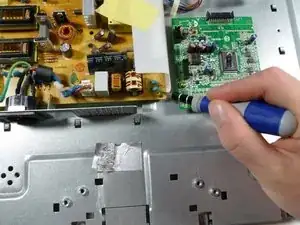
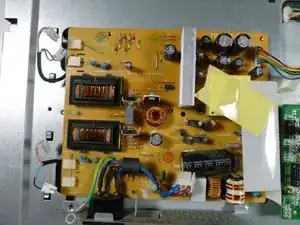
    • Remove the three gold 7.5 mm Phillips #2 screws and one silver 8.3 mm Phillips #2 screw from the power supply.

  11. jSPFvgBhLFq6r1ZF
    jSPFvgBhLFq6r1ZF
    kxuIMkPJOAb5vW2S
    X3r3FvPBNMDDPjAT
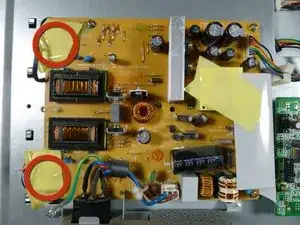
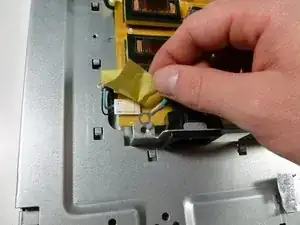
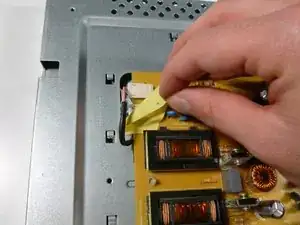
    • Remove the two pieces of yellow tape on the left side of the power supply.

  12. 24xOOJZGPjOItncS
    24xOOJZGPjOItncS
    xipsKjkvDWUR2xZo
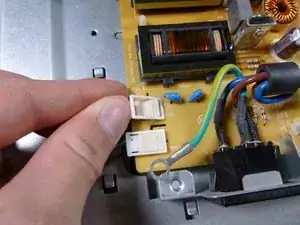
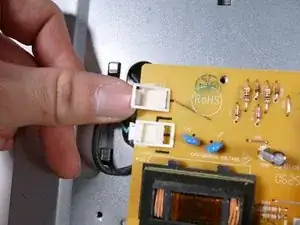
    • Remove the four little white clips located underneath the pieces of tape by lifting up on their left side.

  13. dtjOT2LIRIIfQydi
    dtjOT2LIRIIfQydi
    VxhnX1bG6HCcLeUe
    Pp1OxWNaOHEkZaRu
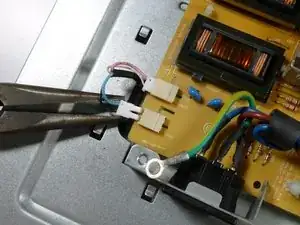
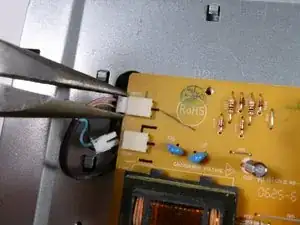
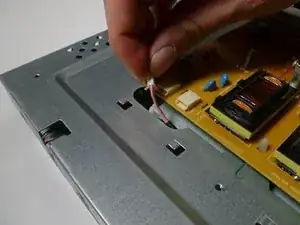
    • With the needle-nose pliers, remove the four display connectors by pulling directly left.

  14. PKQifMOQiXU2Urj5
    PKQifMOQiXU2Urj5
    EHyKktXHHgtH2TN1
    Aexw6EUrQO5JwRMO
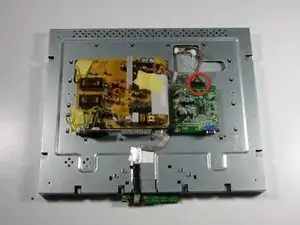
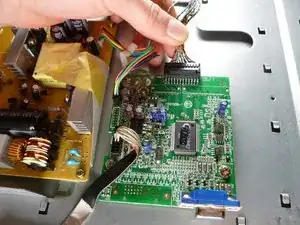
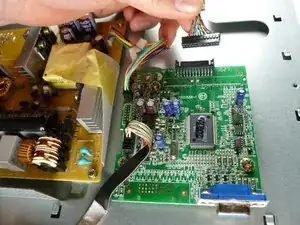
    • Remove the display cable located at the top of the circuit board by pulling it out towards the top of the monitor.

  15. TFuly1BbxWgvVUT3
    TFuly1BbxWgvVUT3
    oSW4ODMxOt4krGYx
    qS2Mnp3LcOI3j3n4
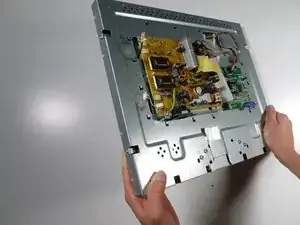
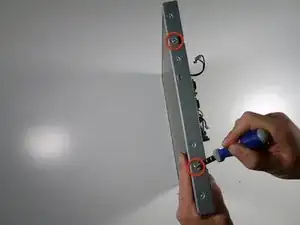
    • Turn the monitor on its side so that the power supply and circuit board are facing to the right

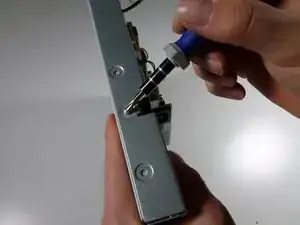
    • Remove the two 6.6 mm Phillips #2 screws located on both sides of the metal casing (four screws total).

  16. wGoqE2NGW2YGJOAF
    wGoqE2NGW2YGJOAF
    asXjukiBnUQYbVRC
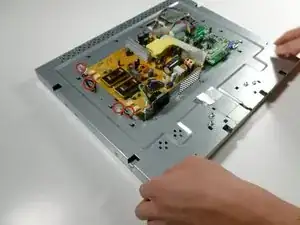
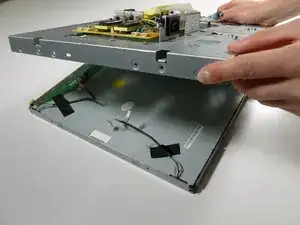
    • Set the monitor back down so that the power supply and circuit board are facing you.

    • Feed all four of the connector wires down through the metal casing.

  17. UMTMSFLCssTJHarM
    UMTMSFLCssTJHarM
    bGLF6YCUaROC3iOk
    oPNeNFGVQKULsEck
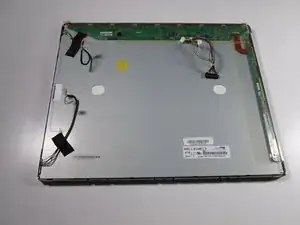
    • Grab the sides of the metal casing and lift up.

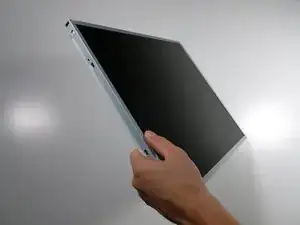
    • Turn the display over to see the front; you are ready replace the broken display with a new one!

Conclusion

To reassemble your device, follow these instructions in reverse order.
Keith

Member since: 06/10/11

351 Reputation

0 comments