Introduction
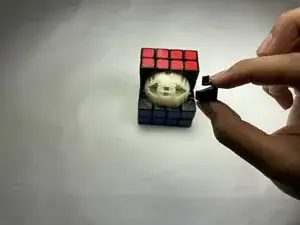
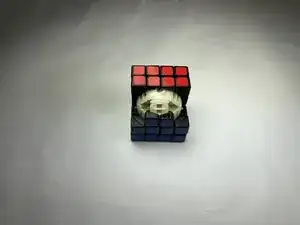
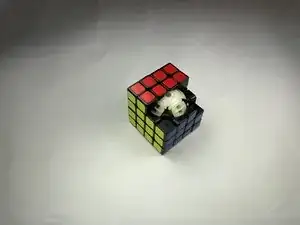
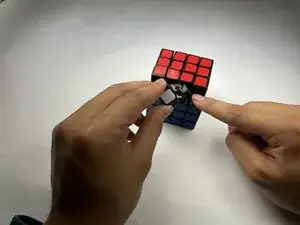
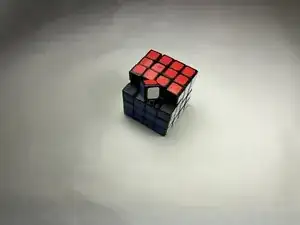
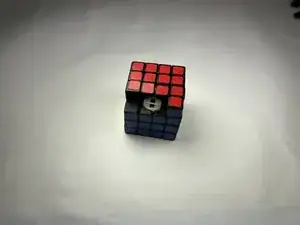
If your 4x4 speed cube (aka cube puzzle, rubik's cube) has a broken piece, doesn't rotate properly or smoothly, and has uneven tensions use this guide to repair the broken piece and reassemble the speed cube. In this guide we are repairing the Julysgift 4x4 cube puzzle.
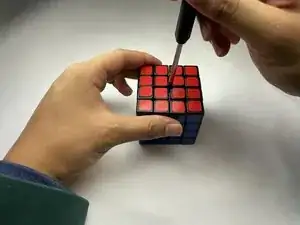
The central screws in a speed cube controls the tensions between all the pieces. Tightening or loosening this screw allows for smoother rotations when using the speed cube. The central screw is also essential in the reassembly of the speed cube. The looseness of the screw allows pieces to be pulled out or inserted in.
The pieces hook onto the core of the speed cube. With the hook broken, the speed cube will have missing pieces.
This guide documents the repair of the center piece of a 4X4 speed cube as well as the reassembly of the 4x4 speed cube. For the reassembly, this guide goes over the assembly of the edge, center, and corner pieces. There is a slight risk with the use of E6000 industrial strength adhesive due to the vapors the glue can emit. Therefore, ensure that the adhesive is used in a well ventilated area. In addition, users must be careful with the use of the screwdriver due to its sharpness.
Pieces often break when the cube is dropped on a hard surface or if the cube has loose/uneven tensions. Rather than replacing the entire speed cube and creating further waste, the speed cube can instead be repaired and reused.
Tools
-
-
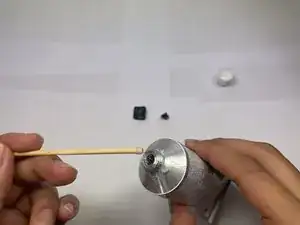
Using a wooden toothpick, take a dollop of E6000 industrial strength adhesive and apply it to the broken piece.
-
-
-
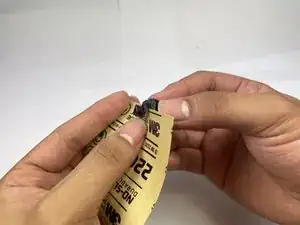
Press the pieces together while applying light pressure.
-
Allow the E6000 adhesive to fully cure for 24 to 72 hours.
-
-
-
Once dry, sand the piece so that it is smooth, ensuring that little to no glue residue is left on the surface.
-
-
-
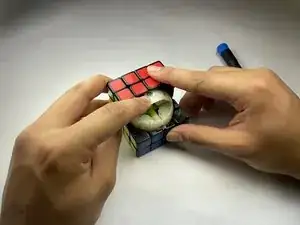
Locate the top and side central screws of the inner core.
-
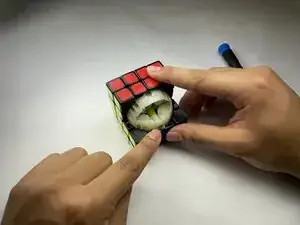
Loosen the top and side central screws.
-
-
-
Stack all three edge bracket pieces with the large bracket piece in the middle.
-
Insert the stacked bracket pieces in to the center of the core.
-
-
-
Insert the colored center pieces directly into the grooves of the core's central edge bracket
-
-
-
Insert the corner colored pieces into the grooves on either side of the center colored pieces.
-
-
-
Insert the colored corner pieces into the grooves on either side of the central colored pieces.
-
-
-
Insert the corner edge piece into the grooves of the correct corresponding corner.
-
Repeat the above step with the opposing corner.
-
-
-
Pull the corner piece apart until there is ample room to slide the edge piece in
-
Carefully insert the corresponding edge piece into the groove of the edge bracket
-
Repeat the steps for the other edge piece
-
-
-
Pull apart both halves of the cube until the screw in the core is visible
-
Tighten the screw with a screwdriver until the speed cube rotates with the desired smooth motion
-
Repeat for as many sides as needed
-
Test the speed cube out. If the cube rotates smoothly then you have done the repair correctly! If the cube requires some force to rotate then you may need to loosen the screws of the core.
If more pieces have popped off, the process for reassembly of the pieces back into the speed cube's core is similar to steps 4 to 7 detailed in this guide. However, if more or different pieces of the core fall out or get damaged then the guide may not work as intended.
